Installation
Important
Sprouty Dialogs requires Godot 4.5 or higher!
Install from AssetLib
The easiest way to install the plugin is by using the AssetLib within the Godot engine.
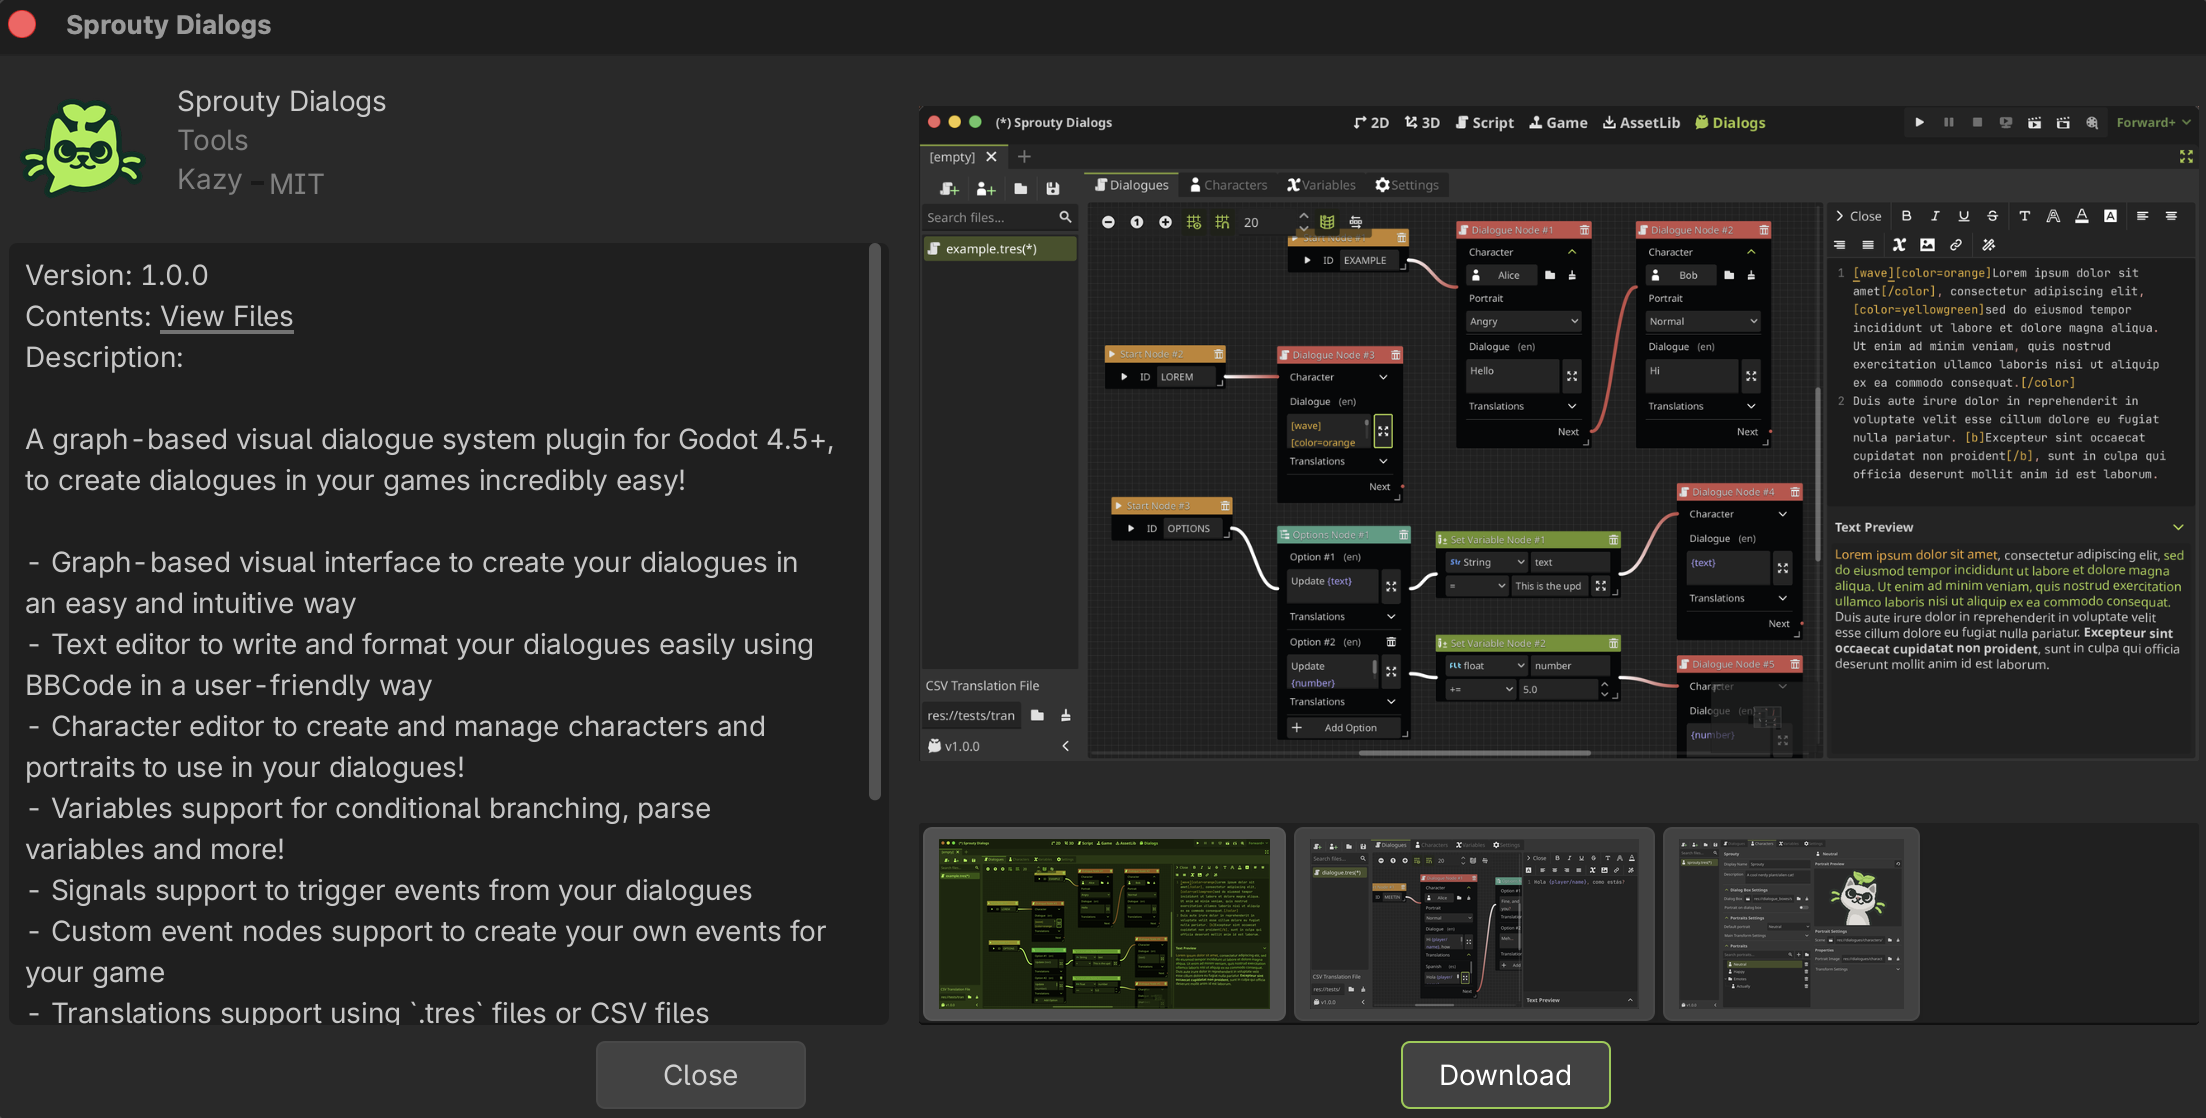
To install the plugin from the AssetLib follow these instructions:
- Search for "Sprouty Dialogs" in the Godot
AssetLibtab - Select the Sprouty Dialogs plugin
- Click on
Download - Then you will see a preview of the installation in the
res://addons/folder and click onInstall - Now you only need to enable the plugin!
Install from Github
For install the plugin from Github follow these instructions:
- Download the
zipfile from Github Releases (recommended) or from the main branch in Github.
note
if you want to use the main branch for features or fixes that have not yet been released, click on the green Code button and then in Download ZIP.
- Extract the
addonsfolder from thezipfile. There is asprouty-dialogsfolder that contains the plugin. - Move the
addonsfolder to the root of your project, or if you already have anaddonsfolder, only move thesprouty-dialogsfolder inside it. - If you have this path
"res://addons/sprouty-dialogs"in your project, you succesfully added Sprouty Dialogs to your project! Now you need to enable the plugin in Godot.
Enable the plugin
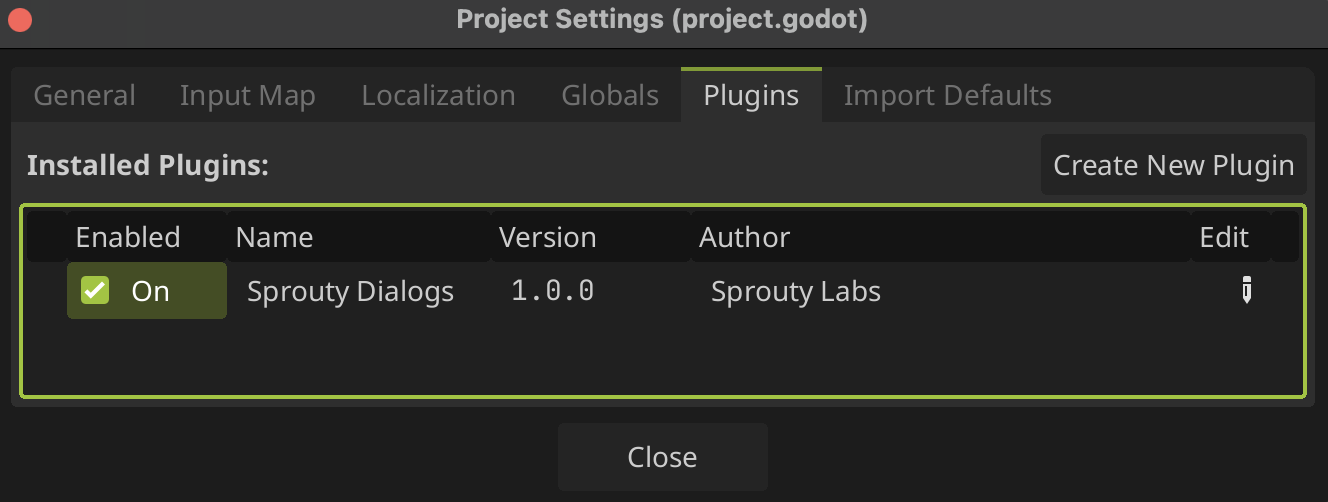
Now that you have the plugin in your project, you need to activate it to start use it.
- Go to Project > Project Settings.
- Click on
Pluginstab. - Check the
Enablebox status ✅
- You will see this new tab in the editor:

Congratulations! Now you can start to create your own dialogues with Sprouty Dialogs!